
Advanced Sandwich Making Tips

Did you catch our “5 Basic Sandwich Making Tips” last week? This week, we are going to take it a step further.
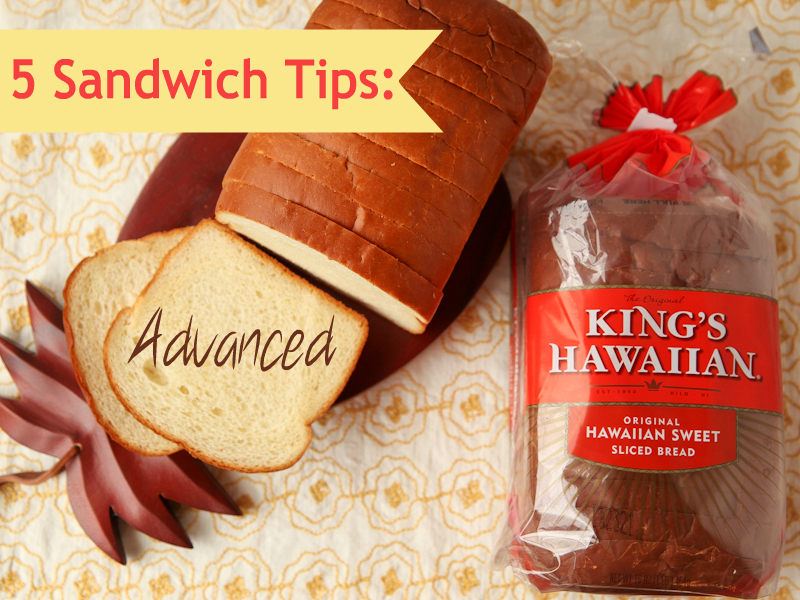
If you need a few sandwich examples using King’s Hawaiian products, check out this easy and adorable “Accordion Sandwich Loaf” or my “Asian Fish Sandwich with Sweet and Spicy Mayo.” (Fish sandwiches are always a favorite in my house!)
Hurry, time is almost up to enter the Ultimate Sandwich Challenge! Get those entries submitted before the September 2nd deadline.
5 Advanced Sandwich Making Tips:
1) Garnishes and Side Dishes
Think about not only what will go in your sandwich, but also what will go on or next to it! Choose garnishes and accompaniments to complement the flavors in your sandwich. You might want to offer serving suggestions for side dishes: chips, french fries, a salad or fruit are great options.
2) Serving
Take a cue from restaurant chefs. Serve hot sandwiches on warm plates, cold sandwiches on chilled plates for optimal enjoyment.
3) Ingredients
The best sandwiches are made with the best ingredients! Why not visit the Farmer’s Market and browse the fresh produce for inspiration. When you get home, try and invent a new sandwich with seasonal and local ingredients.
4) To Toast or Not To Toast
A sandwich may sound simple, but there are so many choices and decisions to make! Does your sandwich taste best toasted or un-toasted? Maybe it would work well in a panini press or pan fried like a grilled cheese? Do you leave on the crust, or do you prefer a crustless sandwich?
5) Ready for the Close-Up
We all know that you “eat with your eyes first” so a mouth-watering presentation is important when serving your sandwich. Of course, for this recipe contest you also need to snap a photo of your creation to enter. Create that perfect shot with a few basic food styling tips and a quick and easy photography tutorial.
So while the colors can be quite beautiful, black and white makes the photo more dynamic.
Also, keep in mind since you are working in a low light
situation, do not add too much light or your bacground will goo dark.
For people that are just starting to learn some outdoor
wedding photography tips so that they can begin to take wedding photographs outdoors, here are some easy techniques that ccan be used tto improve the quality
of the photographs that you are taking.